Tiles have been integral to human civilization for centuries, gracing the floors and walls of palaces, public spaces, and homes. The intricate process of tile production is a fascinating journey of art and science. It intertwines the raw beauty of natural materials with cutting-edge technology and meticulous craftsmanship. In this comprehensive blog, we’ll explore the entire process of tile manufacturing, from the selection of raw materials to the final product, providing insight into one of the world’s most versatile building materials.
Understanding the Ingredients: What Goes In?
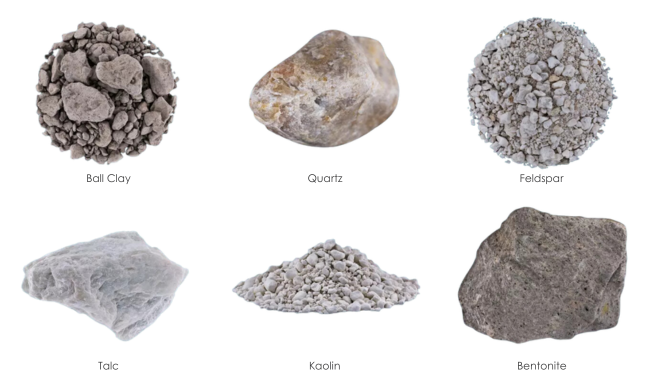
The journey of tile production begins with its raw materials. Ceramic and porcelain tiles comprise a blend of natural materials, each playing a crucial role in the final product’s quality and characteristics. The key ingredients include:
Ball Clay: Ball clay provides the necessary plasticity for the tile mixture, allowing it to be molded and shaped. Its adhesive properties also help the materials bond together before firing.
Quartz: Quartz is prized for its hardness and durability. It increases the strength of the tile and helps it resist wear, making it an essential component in ceramic and porcelain tiles.
Feldspar: Feldspar, acting as a fluxing agent, helps the materials melt and bond together during firing, contributing to the tile’s final strength and durability.
Kaolin: Kaolin enhances mechanical strength and bonding, especially in porcelain tiles. It is also responsible for the white color of tiles, making it a preferred choice in premium-quality tiles.
Talc: Talc is added to the tile mixture to improve the smoothness and workability of the clay, making it easier to form and shape during the production process.
Bentonite: Bentonite, known for its exceptional binding properties, is crucial in large-format tiles because it holds the tile together during the greenware stage (the stage before firing).
These raw materials contribute to tiles’ final appearance, strength, and functionality. The careful balance of these ingredients makes tiles such an enduring building material. It should be noted that each tile manufacturer has its own “recipe” and may or may not use all products listed above, and some may use other products not mentioned.
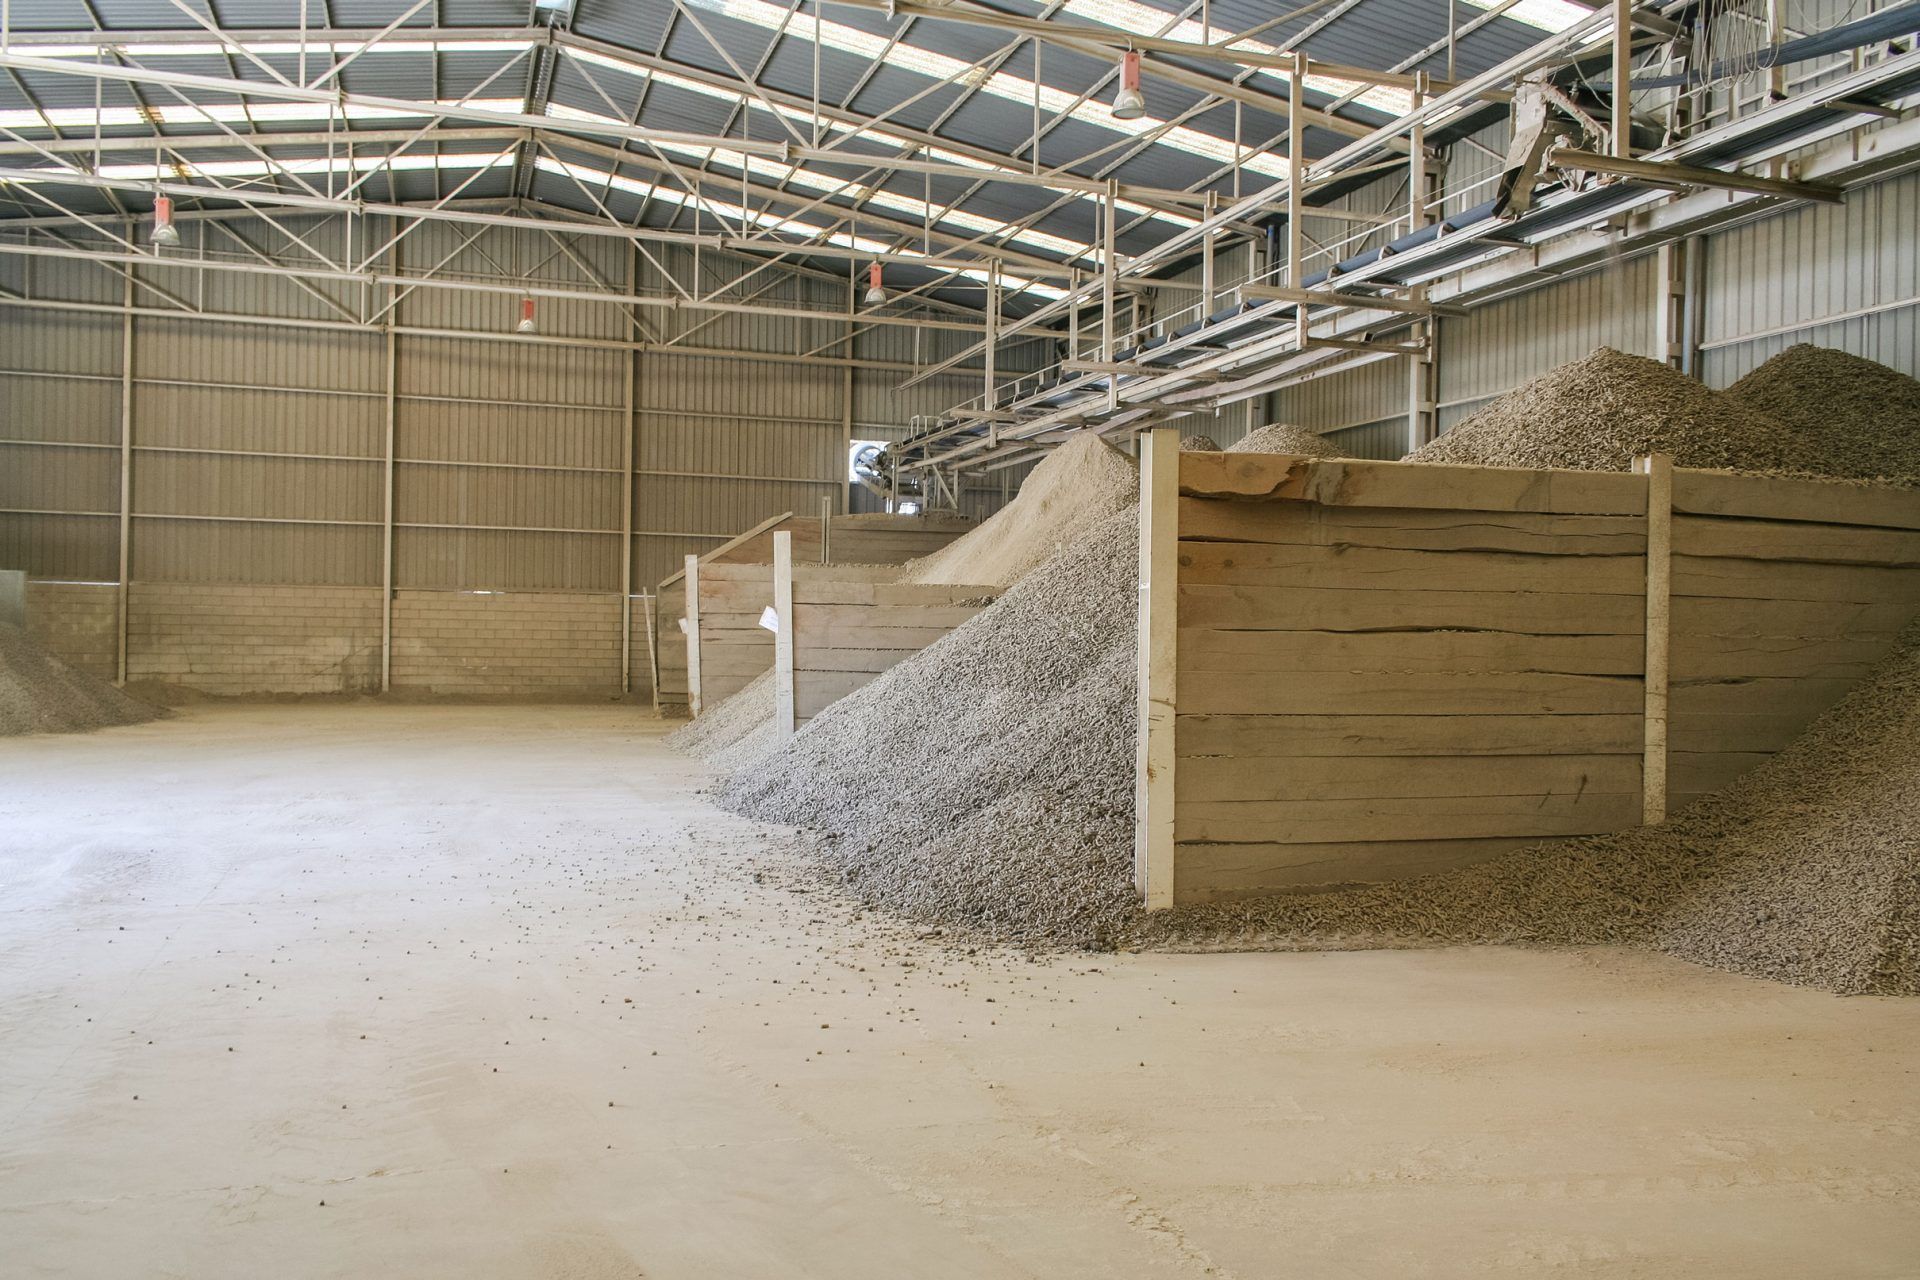
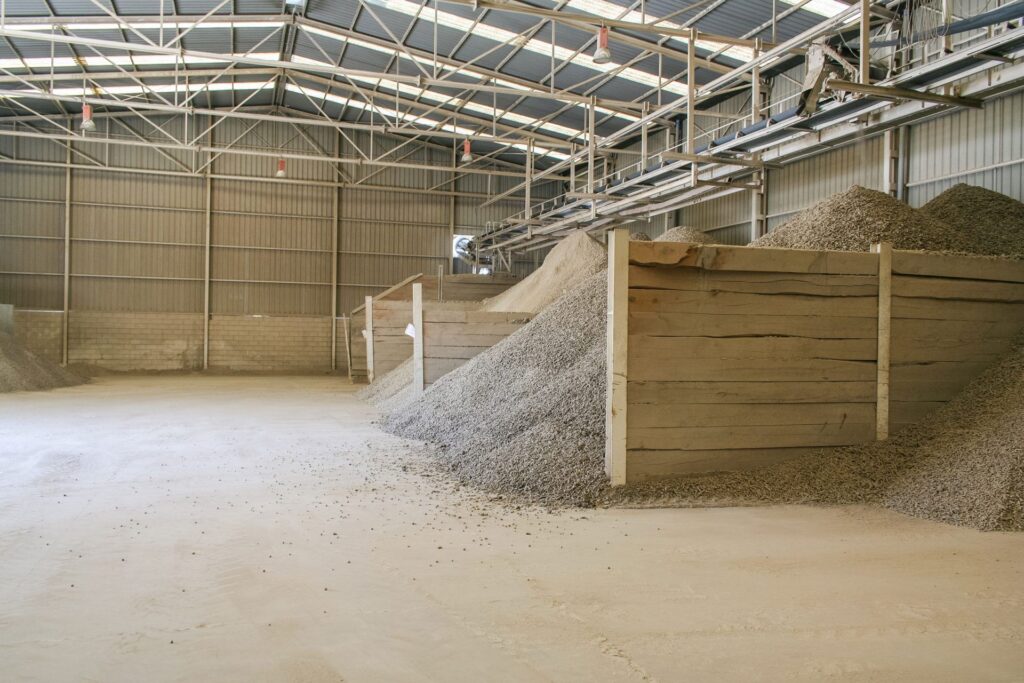
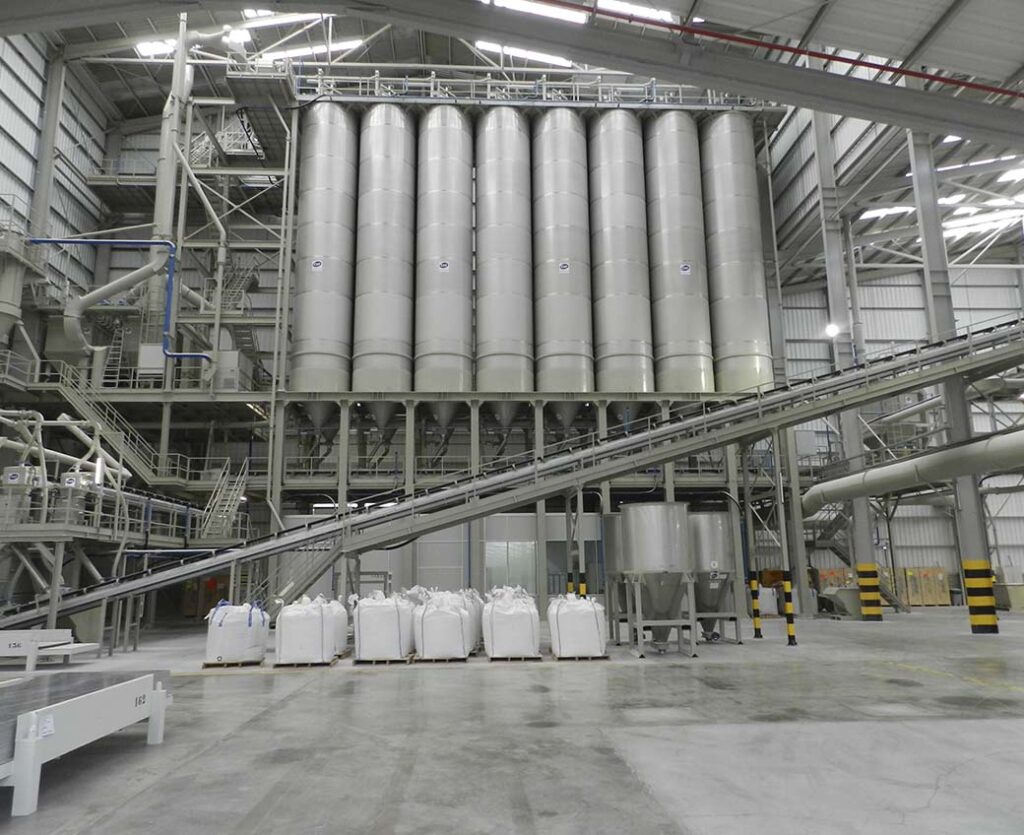
How Raw Ingredients Are Stored
The storage of raw ingredients in tile production ensures the quality and consistency of the final product. Proper storage maintains the integrity of these materials. Let’s explore how these ingredients are stored to ensure efficient production.
Each material is stored in its own individual silo until it is needed in the production process. The segregation of materials is vital to maintaining its purity. Sometimes, the storage facilities are climate-controlled to prevent the materials from absorbing moisture or deteriorating due to temperature fluctuations.
Regular testing is conducted to warrant that the raw materials meet the required quality standards. Quality control testing aims to detect any issues early on, allowing for corrective actions before the materials are used in production. This includes checking for impurities, moisture content, and other factors that could affect their performance.
In summary, proper storage practices help guarantee that the materials retain their desirable properties, enabling the production of high-quality tiles.
From Raw Material to Slurry: The Initial Stages of Tile Production
Once the raw materials are ready, they undergo a meticulous mixing and grinding process. The materials are fed into a ball mill—a large, rotating drum filled with ceramic balls. As the drum rotates, the balls crush the raw materials into fine powders. This grinding process certifies that the materials are uniformly ready for the next stage.
Water is then added to the powdered mix to create a slurry—a thick, liquid mixture that can be easily handled. This slurry is further processed in an atomizer or spray dryer, which reduces the moisture content to about 6%, creating an atomized powder. This powder retains just enough moisture to hold its shape when pressed, making it ideal for forming the tile body.
Shaping the Future: Pressing Techniques
The next step in the tile-making process is pressing, where the raw materials begin to take the shape of the final product. This involves compressing the atomized powders into the desired tile shape using one of several industrial pressing techniques:
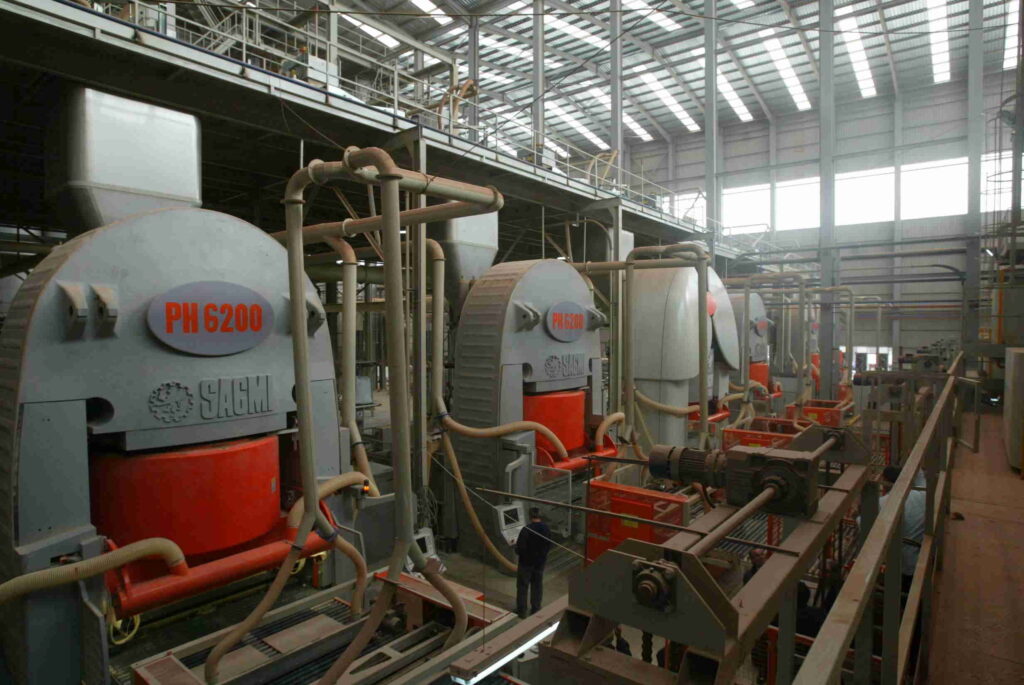
Traditional Hydraulic Press: This method uses molds to shape the tile, with a typical production capacity of around 100,000 square feet per day. Changing molds in this type of press can take up to half a day, making scheduling a critical aspect of production.
Continua+ Line: This advanced pressing technology can produce up to 21,000 square meters (approximately 225,960 square feet) per day, although actual production is often lower due to longer firing times. The Continua+ line is known for its ability to produce large tiles. The key advantage is its ability to create complex designs without molding, offering greater flexibility in tile design.
Lamina or Sistem Technology: A variation of the hydraulic press, this technology allows for the production of thin tiles (3.5 to 5.5 mm) without the use of molds. This method is ideal for creating ultra-thin, lightweight tiles that are increasingly popular in modern architecture.
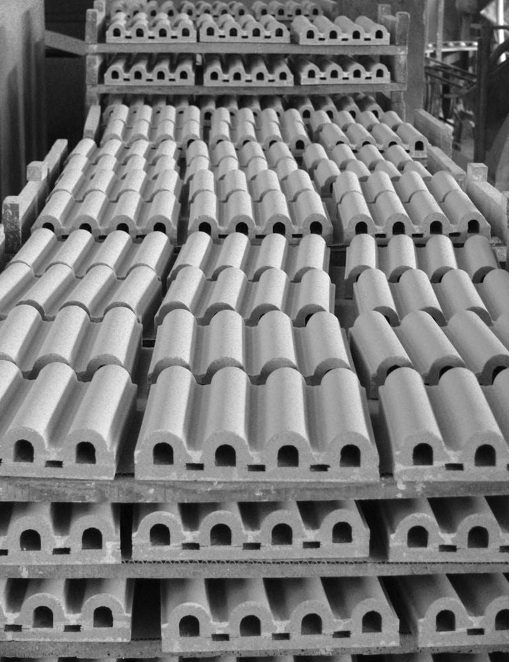
Extrusion Process: Generally used for clay products like quarry tiles or to form structural tiles like breeze blocks, the extrusion process pushes the raw material through a die to create the desired shape. Extruded tiles are often used in applications that require resistance to harsh conditions.
After pressing, the tiles enter the drying phase, removing any remaining moisture. This step is crucial to prevent cracking and warping during the firing process. The drying process varies depending on the type of tile. In some cases, the tiles are stored before firing, allowing for greater flexibility in production.
Glazing is where the tile truly begins to take on its final appearance. The glaze is a liquid mixture applied to the tile’s surface before firing. It can add color, texture, and a protective layer to the tile, enhancing its aesthetic appeal. Different glazing technologies are used depending on the desired finish:
Curtain or Waterfall Glaze: This method is commonly used for single-color ceramic wall tiles. It involves applying a uniform layer of glaze over the tile. In some cases, an engobe layer (a primer) is applied first, which serves as the base for the final decorative layer.
Inkjet Technology: A game-changer in the tile industry, inkjet technology allows for precisely applying intricate designs onto tiles. This process resembles a large-format digital printer, where high-resolution images of stones, wood, or concrete (to name a few) are printed onto the tile surface. This technology has revolutionized tile design, enabling factories to offer virtually unlimited design possibilities.
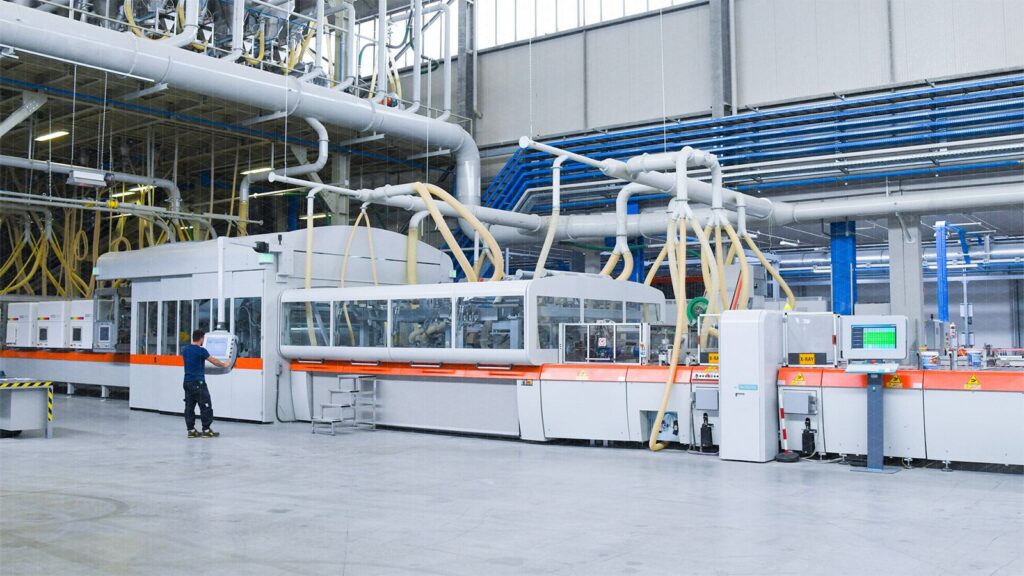
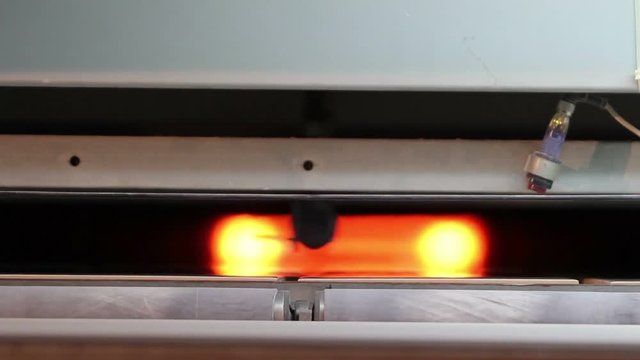
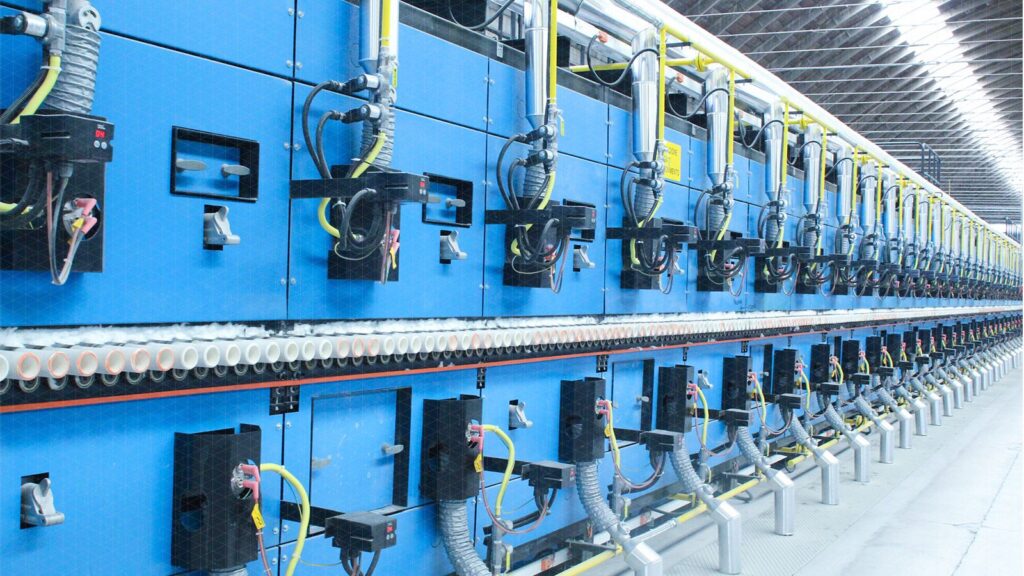
After glazing, the tiles are ready for firing. Industrial kilns, which can be as long as 150 meters (1.5 football fields), are used to fire the tiles at extremely high temperatures. The specific firing temperature depends on the type of tile:
Ceramic Tile: Fired at temperatures ranging from 1000° to 1250°C (1832° to 2282°F). The firing process hardens the tiles while fusing the glaze to the surface.
Porcelain Tile: Fired at even higher temperatures, between 1300° and 1346°C (2381° to 2455°F). This higher temperature not only increases the density but ensures that it is more water-resistant than ceramic tiles. This makes porcelain tile ideal for use in areas exposed to moisture.
There are several different firing methods, each suited to specific types of tiles:
Monoporosa Monocottura (Single-Fired): This is the most common method, in which the glaze is applied to the greenware and fired once. It is widely used for porcelain and ceramic tiles.
Bicottura (Double Fired): This method, used primarily for wall tiles, involves firing the tile body first, then applying the glaze and firing again. This is often used for decorative tiles that require a lower firing temperature.
Third-Fired: This method is typically used for adding further decorative elements after the initial firing. It involves an additional firing after the application of a decorative glaze. Although the term “third-fired” is used, most tiles produced with this method are only fired twice.
Cold Fired: A low-temperature firing process (800°-1000°C) used for specific types of decorative glazes.
Image courtesy of SacmiImage courtesy of Sacmi
The Final Steps: Finishing to Packaging
Once the tiles are fired, they undergo a series of finishing processes to enhance their appearance.
Polishing: Polishing involves grinding down the tile surface using abrasive heads. It starts with coarse grains and progresses to finer grains, similar to sanding wood. The result can range from a fully polished surface to a lappato (semi-polished) or brushed finish.
Rectification: Rectification involves cutting the tiles to ensure precise dimensions. This process allows for minimal grout lines during installation, creating a seamless, modern look that is highly desirable in contemporary design.
Sorting: Automated sorting machines use laser technology to categorize tiles based on shade and caliber (size), ensuring consistency within each batch.
Packaging: Packaging is the final step, during which the tiles are boxed and palletized to await shipment.
Customization: Tailoring to Unique Specifications
While most tiles are produced using standard industrial methods, there is also a growing demand for customized tiles that cater to specific design needs. Customization allows for the creation of unique colors, patterns, and shapes that standard production lines cannot offer. This process involves close collaboration among the designer, supplier, and manufacturer to ensure the final product meets the commercial design’s aesthetic and functional requirements.
The art and science of tile manufacturing is a complex, multi-step process combining natural materials’ beauty with modern technology’s precision. It blends traditional craftsmanship with cutting-edge advancements. Each step is meticulously controlled to certify the highest quality product, from carefully selecting raw materials to the final packaging.
As technology continues to evolve, the possibilities for tile are expanding, offering endless opportunities for innovation in commercial spaces.
Whether you’re looking for a classic ceramic tile or a bespoke porcelain masterpiece, understanding the journey of tile production can deepen your appreciation for the tiles that beautify our spaces.